Most of the swirl marks on your vehicle did not come from driving. They came from washing.
Every time you drag a dirty sponge across a dusty panel, run your car through a brush car wash, or dry with a bath towel, you are grinding fine particles into your clear coat. Each wash adds another layer of micro-scratches that scatter light and make your paint look dull and hazy — especially under direct sunlight.
In the Texas Panhandle, this problem is amplified. Amarillo’s constant dust means your vehicle is always coated in fine abrasive particles. Wash incorrectly and you are essentially sanding your paint on a regular basis.
Here is how to wash your vehicle properly, minimize new damage, and keep your finish looking sharp between professional details.
Stop Using Automated Car Washes
This is the single most important change you can make. The spinning brushes in automated car washes trap dirt, sand, and grit from every vehicle that passed through before yours. Those contaminated brushes then drag that debris across your paint at high speed, creating deep swirl marks and scratches with every pass.
Even “touchless” automated washes are not great — they rely on harsh chemicals to compensate for the lack of physical contact, which strips wax, degrades sealants, and can dull the finish over time.
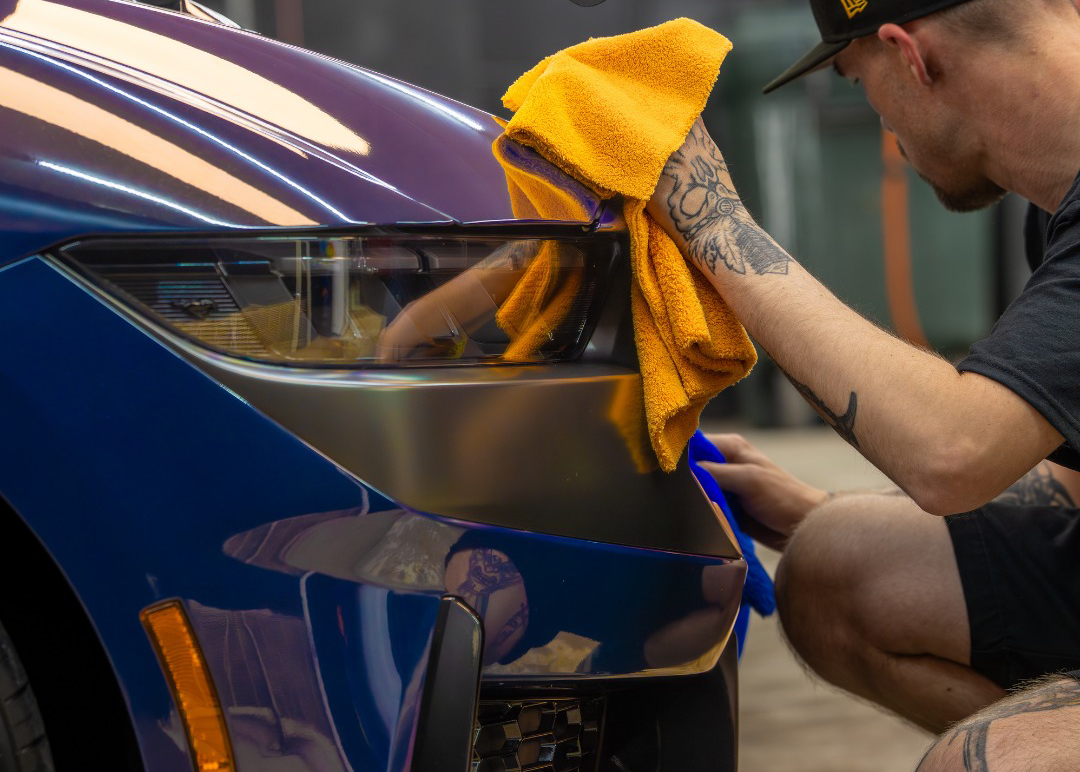
If you value your paint, hand washing is the way.
The Two-Bucket Wash Method
The two-bucket method is the standard for scratch-free hand washing. It is simple, effective, and the single biggest upgrade you can make to your wash routine.
What you need:
- Two buckets (five-gallon buckets work well)
- Grit guards for the bottom of each bucket (plastic inserts that trap dirt)
- A quality car wash soap (pH-neutral, not dish soap)
- A microfiber wash mitt (not a sponge)
- A separate wheel brush or mitt
- Clean microfiber drying towels or a forced-air blower
How it works:
- Bucket one is your soap bucket — fill it with water and car wash soap.
- Bucket two is your rinse bucket — fill it with clean water only.
When you wash, dip your mitt into the soap bucket, wash one panel, then rinse the mitt in the clean water bucket before going back to the soap bucket. The rinse bucket catches the dirt and grit you just picked up. The grit guard at the bottom traps it so it does not float back up.
This prevents you from reloading your mitt with contaminated water and dragging those particles across the next panel. It is the difference between cleaning your paint and scratching it.
Pre-Rinse Before You Touch the Paint
In Amarillo, this step is critical. Your vehicle always has a layer of dust and fine sand sitting on the surface. If you put a wash mitt on that surface without rinsing first, you are pushing those particles into the paint under pressure.
Before your mitt touches anything:
- Rinse the entire vehicle with a strong stream of water to knock off loose dust and debris.
- Apply a foam pre-wash if you have a foam cannon — the foam encapsulates dirt particles and lifts them off the surface so they rinse away without contact.
- Rinse again after the foam has dwelled for a few minutes.
By the time your mitt touches the paint, the heavy contamination is already gone. You are only washing the film that remains — which is far less likely to scratch.
Wash Top to Bottom
Always start at the roof and work your way down. The lower panels — rockers, bumpers, and wheel wells — carry the heaviest dirt, road grime, and brake dust. If you start there and then move up, you transfer that heavy contamination to cleaner panels.
Wash the wheels and tires last (or first with a separate mitt that never touches the body). Brake dust is metallic and highly abrasive — you do not want it anywhere near your paint panels.
Drying Matters
How you dry your vehicle is just as important as how you wash it. Never use a chamois, bath towel, or paper towels — these are not designed for automotive surfaces and will scratch.
Best options:
- Microfiber drying towels — use a clean, high-quality waffle-weave or twist-pile microfiber. Pat or blot rather than dragging across the surface.
- Forced-air blower — a filtered leaf blower or dedicated car dryer pushes water off without touching the paint at all. This is the safest drying method, especially for vehicles with ceramic coating where water beads up and blows off easily.
Dealing with Amarillo’s Hard Water
Amarillo’s water supply is hard, meaning it has high mineral content. When hard water evaporates on your vehicle’s surface, it leaves mineral deposits that bond to the paint and create water spots. Left in the sun, those spots etch into the clear coat and become permanent.
How to manage it:
- Dry immediately after washing — do not let water air-dry on the surface.
- Wash in the shade or during cooler parts of the day so water does not evaporate before you can dry it.
- Use a filtered water source if possible — a deionized water rinse as a final step eliminates mineral deposits entirely.
- Ceramic coating helps — the hydrophobic surface causes water to bead and roll off rather than sitting on the paint. Minerals have a harder time bonding to a coated surface.
How Often Should You Wash?
In the Panhandle’s dusty environment, washing every one to two weeks is a reasonable frequency for most vehicles. Washing too infrequently allows contaminants to bond to the surface, while washing too aggressively (daily) increases the cumulative risk of wash-induced scratching.
If your vehicle has ceramic coating, you can often extend the interval because dust and dirt release more easily. A quick rinse may be all you need between full washes. Our guide on ceramic coating vs. wax covers how coatings reduce maintenance effort.
When Damage Is Already Done
If your paint already shows swirl marks, haze, or wash-induced scratching, improving your wash technique prevents further damage but does not undo what is there. Swirl marks are physical scratches in the clear coat — no wash product, glaze, or polish-in-a-bottle will permanently remove them.
Professional paint correction is the only way to truly eliminate swirl marks. The process uses machine polishing to level the clear coat surface, removing the scratches and restoring even light reflection. Our article on how paint correction works explains the full process.
After correction, applying ceramic coating protects the freshly corrected paint and makes future washing safer and easier — fewer particles stick, less scrubbing is needed, and the hard surface resists new scratches better than uncoated paint.
Get Your Paint Right
If your vehicle’s finish is not where you want it to be — swirl marks, dull haze, water spots that will not wash off — we can help. Call PaintSlayer AutoSpa at (806) 680-6466 or request a free estimate. We will assess your paint condition and recommend the right combination of correction and protection for your vehicle.